Saturday, July 5, 2014

Finally the Provo House

I am finally finished with the house in Prove I was redesigning.
 The budget was less then $10,000 and I was redesigning the entire house.  This left little room for major changes.
Here is the After shot of the dresser I refinished in silver for the girls room.
I think it turned out really cute :).
Here is a before shot of the girls rooms:
Here are some before shots of the entire house:
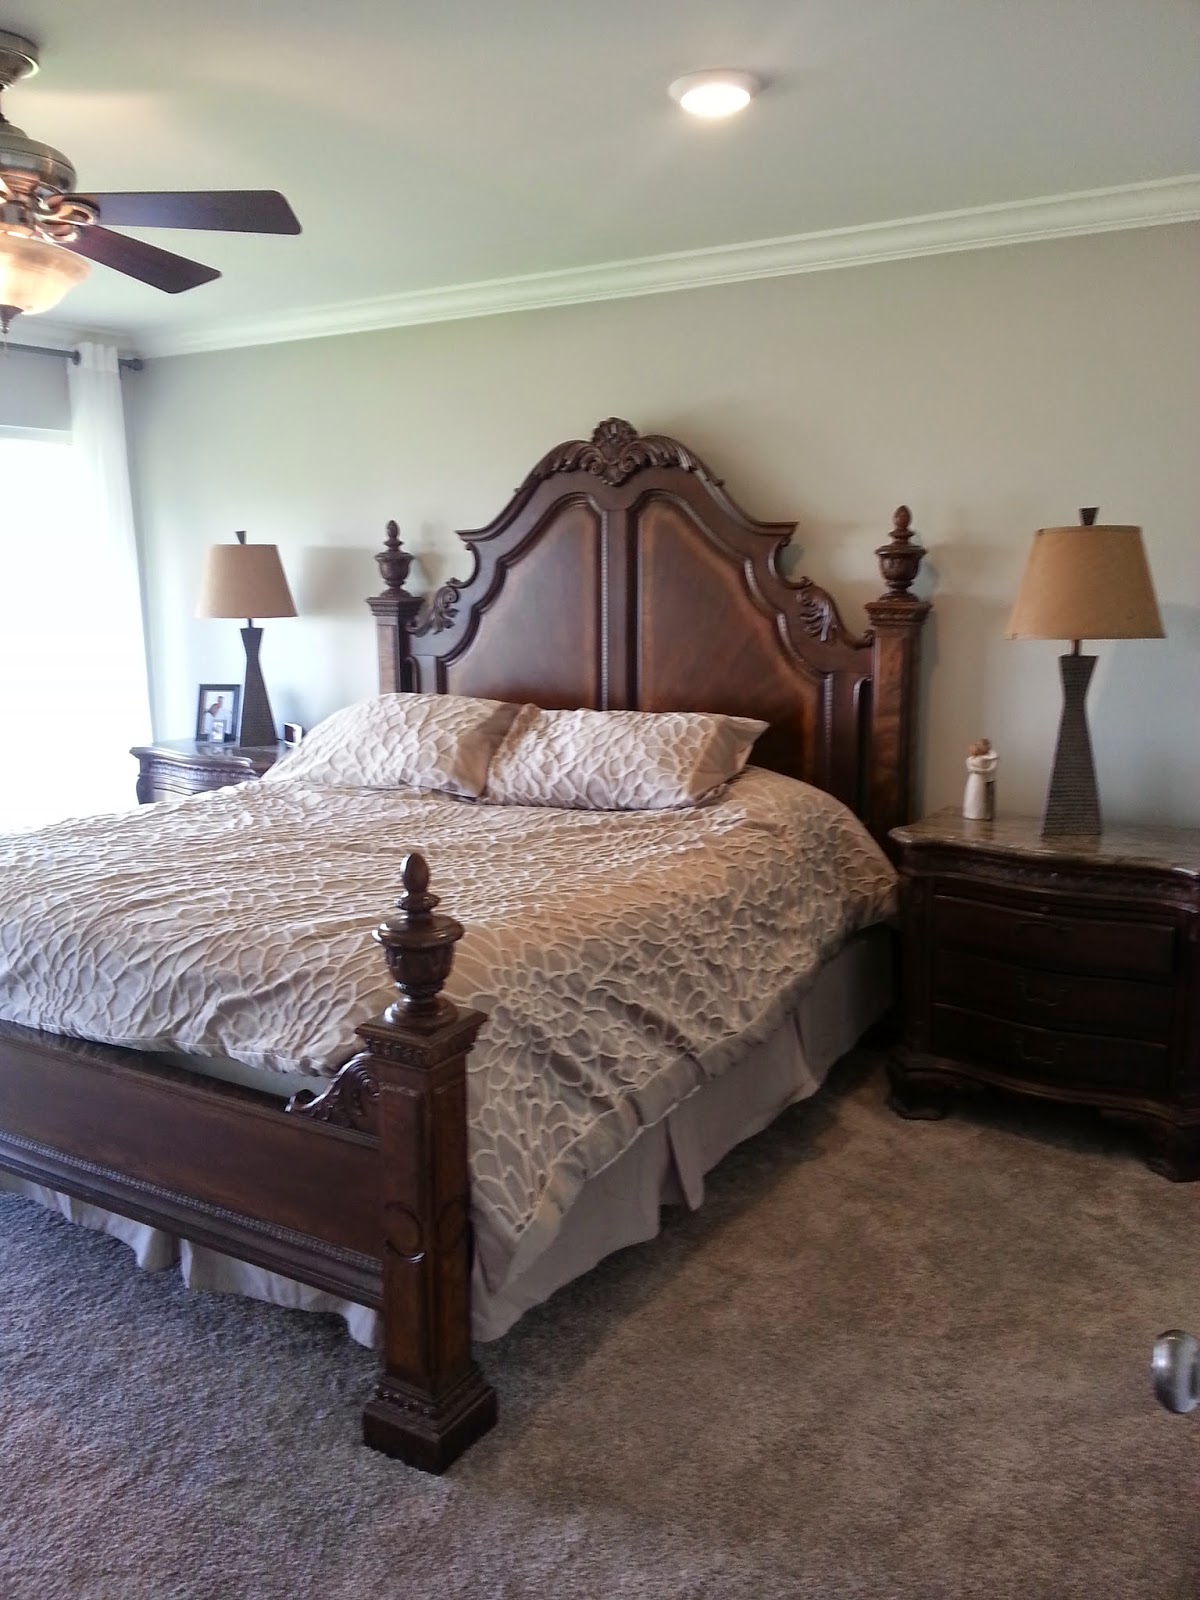


Here are the after shots:


If you'd like to see more of our home staging/redesign projects go to Houzz Stage 7 Design.


Tuesday, April 1, 2014

Long Term Project
We are starting a long term project on a house that was built in the 50's/60's.  There is a lot to do. Our charge is to rework the whole house, but our budget is very small, so much of what we are doing is reworking what is already there.  Our first project is the kitchen.  We decided the most economical thing to do in here was to paint the cabinets and  change the lighting.  Here is the before shot.
Before

Here is the after shot.  We painted the cabinets Simply White from Benjamin Moore.  We had it color matched at Lowe's.  The yellow hardware was replaced with satin nickel.  We replaced the lighting with led  flat lights.  We'll show a hero shot once all the projects are done and the whole house is staged.


 This girls room needed a dresser.  Purchasing a durable dresser was out of the budget.  On this sight froufrugal I found instructions on how to create an aged silver finish.  So I bought a vintage dresser from a dresser repairman for $60 and began to refurbish it.

Here is the dresser before.As you can see it still has some great handles!

In this step I have primered the drawers with Krylon Primer and then Painted them with two coats of Krylon Metalic Silver Spray Paint.

In this step I used a rag and a paint brush to coat the drawers with Valspar Antiquing  from Lowes.  

Pictures of Finished Dresser to Follow.....Finished Dresser

I needed to come up with a cheap but nice looking window valance for this kitchen.  The valance is actually a rug from Ikea.  It cost $7.  I use two strips of pine 2" wide by 3/4" deep.  I cut the strips 2" longer than the width of the window and used a staple gun to attach the rug to the wall side of the boards and the exposed edge on the top board
, one at the top and one at the bottom.   The top board is then screwed directly into the wall under the fabric.  I raised this curtain about 6 inches above the window to give it some height and still be able to  have as much light in the room as possible.

For another window in the house I  used fabric from Ikea instead, and only a top board.  I used iron on fabric fuse to "hem" the sides and bottom of the curtain.  The curtain, once again is stapled to the sides and back of the board.  The board is then screw directly into the wall.

Sunday, February 23, 2014

Reclaiming an old Card Table

Have you ever wanted to have a cute card table?  

First Step!  Wash the table! and then take it apart!


I Bought some cute fabric at Hobby Lobby and a roll of fabric laminate which I ironed on the fabric.
Wrap the fabric around the table top and secure.  My table was so old I also had to replace the padding.
I then spray painted the legs with a dark grey spray paint from Lowe's.  It was a paint and primer spray.  Then I resecured the top to the table.  My family loves it and I now have a cute portable table to take anywhere!

Monday, February 3, 2014


Valentines !  

These Valentines decorations are plastic purple and pink christmas balls with the tops cut off. The little dish holds foil wrapped candies.


Thursday, November 14, 2013


Once again focusing on Centerpieces.  This time I needed a fall centerpiece for a relief society dinner.  I want something live, and something that the ladies could see over while they were chatting. After seeing some pumpkin centerpieces on Pinterest I decided to design my own.  I took a flat white pumpkin from my porch and gutted it.  I made hole on top so that it would fit my water container (sour cream carton) snugly.  I then cut wide slits all the way around the pumpkin.  I used a safety pin pinned to the end of my ribbon to help me weave the ribbon in and out of the pumpkin.  I used a ribbon 3 x the circumference of my pumpkin.  I secured the ends of the ribbon with some bling :). After cutting down the container so the top didn't show over the edge of the pumpkin, I filled it with the last of my fresh baby roses :( this fall and branches from a bush in the garden.

Wednesday, October 30, 2013

Picture Centerpieces for Reunion

I needed to create 17 centerpieces for a reunion.  The specification was that they had to display old pictures for people to stroll down memory lane during the reunion.  I had a minimal budget. I took old wood from behind my shed and cut it into 8 inch pieces.  Then I nailed them together in the shape of a box without a bottom.  I took old nails and nailed one nail into each side of the boxes.  I then dry brushed the boxes with white and aqua acrylic paint.  I placed a canning jar in each box and miniature roses and carrot flowers and some broccoli flowers in the jars.  I punched a hole in each picture and hung them around the boxes.  These could be used at type of gather and almost anything could be hung on the nails.

Sunday, April 28, 2013

Fun Cupboard


I used scrapbook paper to put a fun background in my glass fronted cabinet.  Using modgepodge I modpodged this scrapbook paper to the inside backwall of the cabinet.  , Although I like the result, I'm not in love with how this particular pattern looks on the inside and will probably redo it in a couple of years.